Top 10 Solar Project Solution Factory In China
Thank you for ordering TANFON Solar Power System. In order to save your solar installation time, whether need our engineers come to your local guiding installation or not, all these work as follow need to be prepared in advance.
Preparation before solar installation:
| 1 | Prepare electricians using tools and solar installation tools in advance, such as electric drills, multimeters, circuit breakers, etc., depending on the local environment. |
| 2 |
Confirm in advance where to install the solar panels, if it is installed on the ground, please prepare the concrete.
If solar panel installation is on tin roof, you do not need to prepare concrete, install the bracket directly.
|
| 3 | When the goods arrive at the port, receive the goods, install the solar bracket in advance. We will provide the solar panel bracket installation instructions. |
| 4 |
Prepare the power supply room to install the inverter, combiner box, battery, and battery rack (if the space is large enough, use without battery rack also ok)
|
| 5 |
Check the line layout in advance, you can buy the cable slot and other small parts of the protection line in advance.
|
| 6 | The inverter is preferably installed next to the main switch (1-2 meters distance), so the installation operation will be simpler, and the maintenance will be more convenient. |
Solar panel installation attention and maintenance
1) Solar panel installation
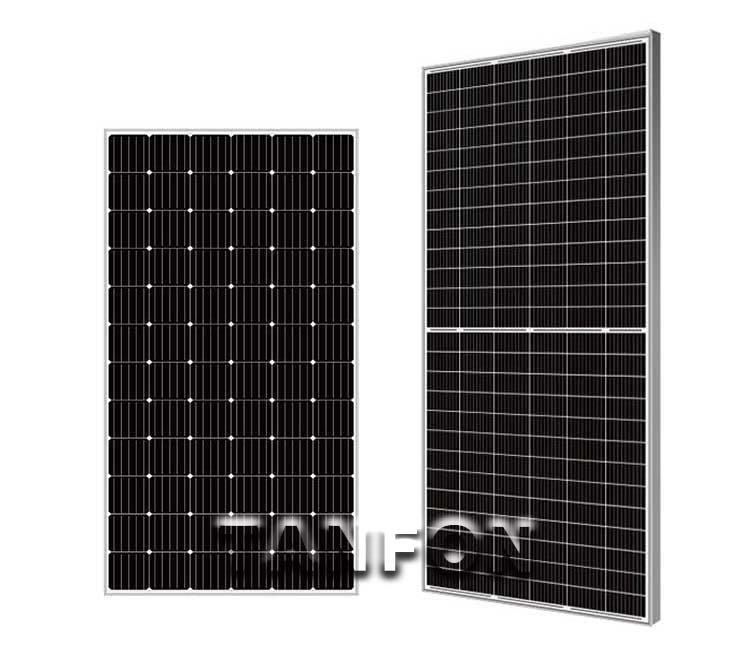
According to the solar system DC voltage, determine the series and parallel
| 1 |
Pay attention to the around whether there are objects blocking, such as high-rise buildings, trees, high-altitude cables, etc., and pay attention to the plane installation, do not block each other between the arrays of panels. |
| 2 |
Don't stand on the panel artificially in order to test the quality of the panel. Of course the solar panel can support people’s weight, but it may cause the cell to break or crack. Once this problem is caused, will reduce the life of the panel. |
| 3 |
Solar panel installation orientation: the southern hemisphere is facing north, the northern hemisphere is facing south. And the installation angle: adding 0-5°to the local dimension. |
| 4 |
During the installation process, please pay attention to the short circuit between the positive and negative poles in the connection of the battery board to prevent irreparable damage to the battery board. |
| 5 |
Although the solar panel material adopts tempered glass with strong anti-strike ability, it still needs to pay attention to protection during the installation process. The tempered glass also belongs to glass, so pay attention to unnecessary damage. |
2) Solar panel maintenance
Regularly clean dust, attachments, etc. from dust, bird droppings, leaves, etc. that left on the panel board. So as not to cause a decrease in power generation and prevent hot spot effect
t is best to clean the solar panels once a month (if it is desert zonefor 15 days once time); According to the statistics, If you clean three times a month, can increase power generation by 10%.
Regularly check whether the male and female joints are secure (Check when cleaning)
PV combiner box installation
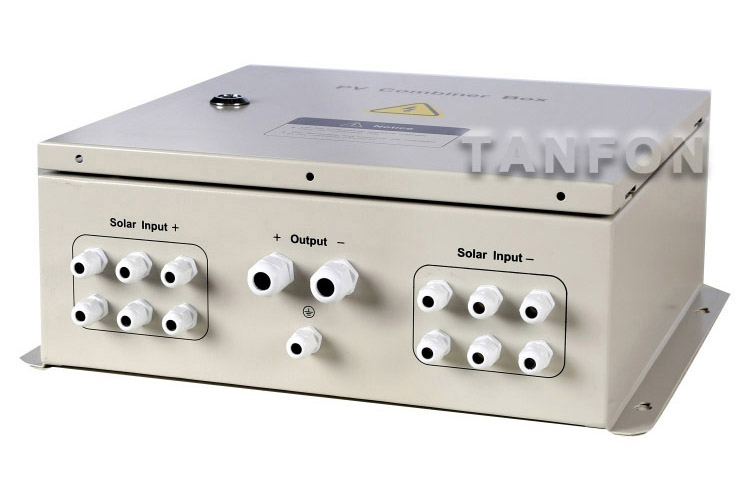
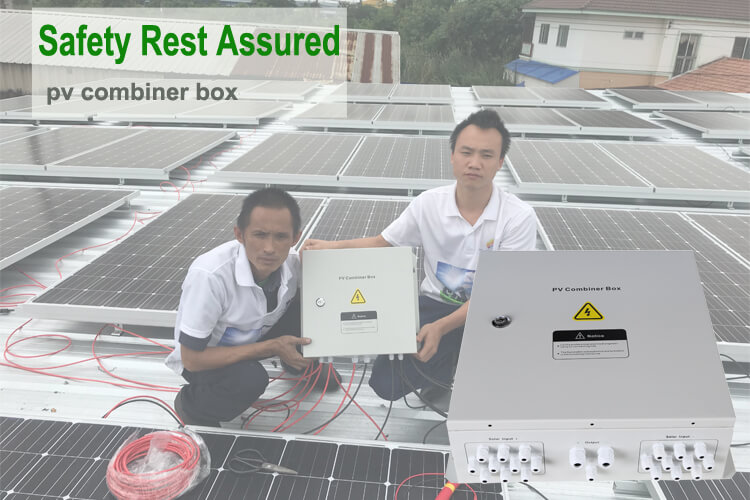
Note that the positive and negative connections are correct.
There is a main switch in the pv combiner box, after for all the batteries, the inverter, the solar panel is determined to be installed, and the last step to open it.
Battery installation and maintenance
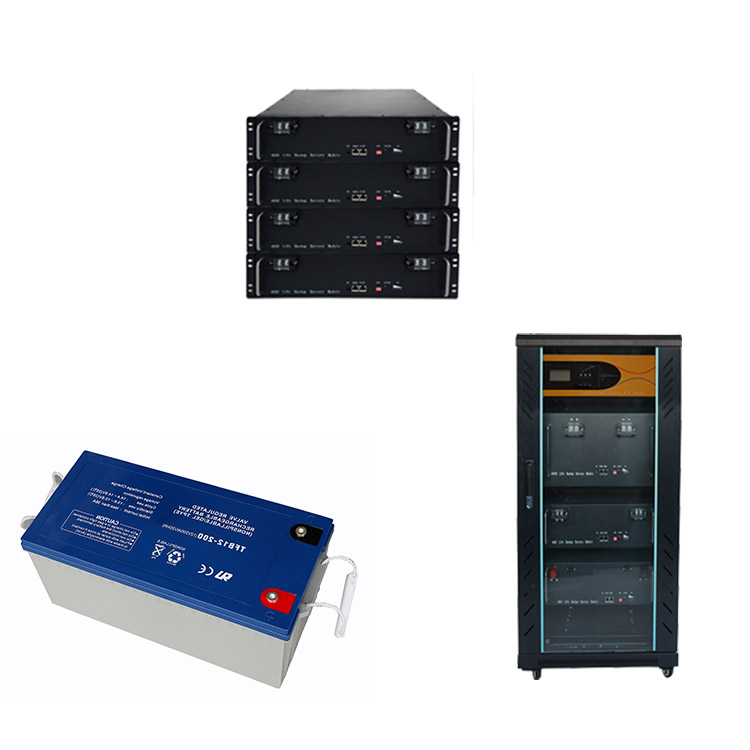
1) Battery Installation Notice
| 1 | Lay the battery with up-down direction instead of put it inverted in any case. |
| 2 | Abnormal vibration or shock is not allowed. |
| 3 | Do insulate when installation |
| 4 | Make the batteries ventilated and gapped. |
| 5 | Do not mixed up different brand and different manufacturing date batteries.(6)Separate the batteries from organic solvent |
| 6 | Charge battery to full at the first use or after long term storage. |
| 7 | Fire risk exists if the wires do not joint tightly at terminal. |
2) Battery maintenance
It is necessary to conduct quarterly inspections to check whether the voltage of the battery is normal (if the voltage become low, then should be fully charged, let the battery stand for 4 hours, then measure the voltage of each battery)
During the quarterly inspection, the battery should check whether have any abnormalities such as heat and liquid leakage etc..
Whether the battery cable is secure, and it is confirmed that there is no looseness or damage.
Inverter installation and maintenance
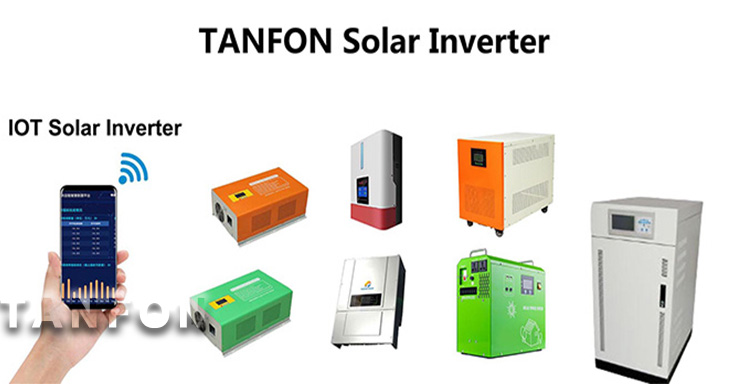
1) Solar Inverter installation
| 1 | After confirming the DC voltage of the inverter, connect the battery to the inverter first. |
| 2 | Then connect to the city power input to the inverter(If the inverter function is solar-powered priority, it will be stand by) |
| 3 | Pay attention to the phase of the city power, do not connect wrongly |
| 4 | Then connect to output |
| 5 | Pay attention to the positive and negative terminals of the battery, do not be reversed connection. |
| 6 | Check if the battery voltage is normal when you turn it on. |
| 7 | Shutdown sequence: first turn off the load, then turn off the battery and city power switch. |
2) Solar Inverter maintenance
Regularly check and clean internal dust, Check if the wires are secure, confirm that there is no looseness or damage
Pay attention to waterproof and moistureproof
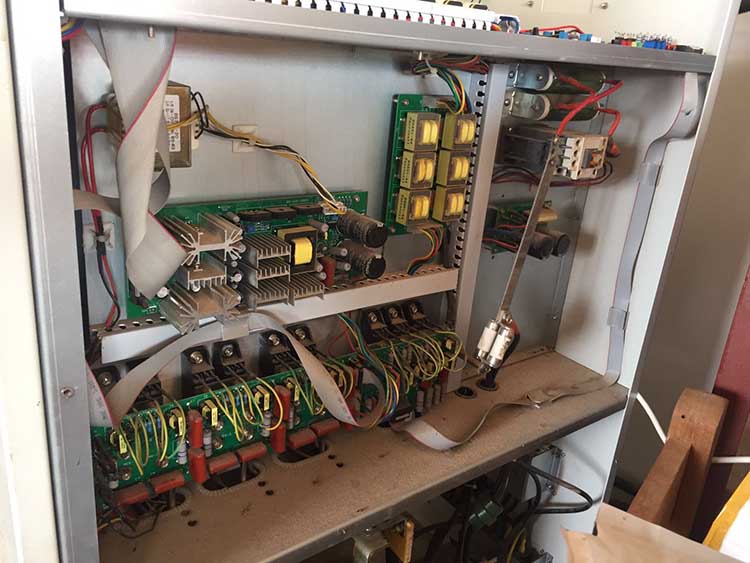
Some solar systems are used in a harsh environment (as shown in the picture). The dust is static electrification,which is easy to blow up the IGBT. So every 3-4 months, need to use a fan to blow the dust in the inverter.
Solar installation Solar Panel Bracket mounting angle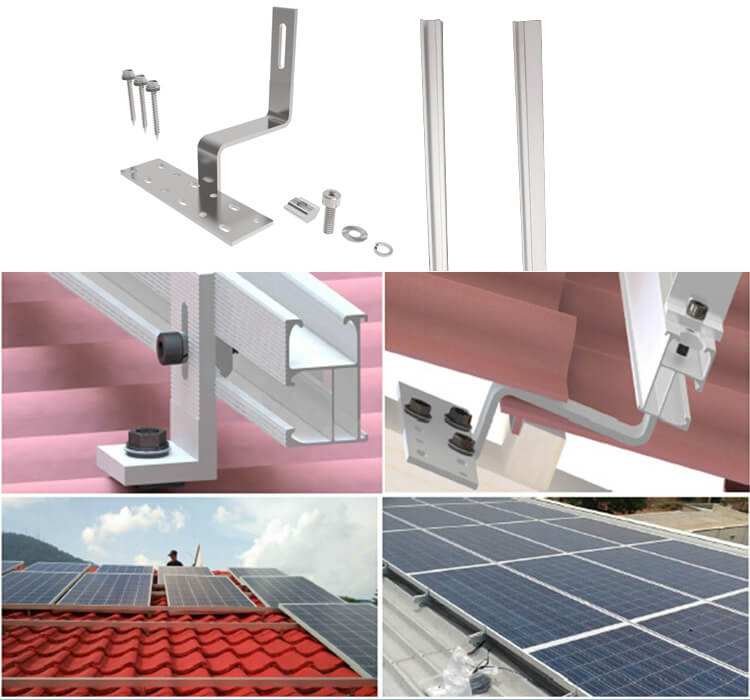
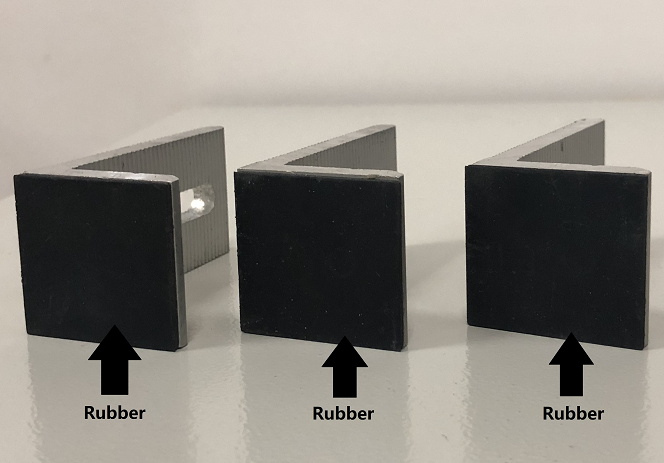
Q:customer Worry about screw holes leaking in rainy days when the bracket is installed. How to do?
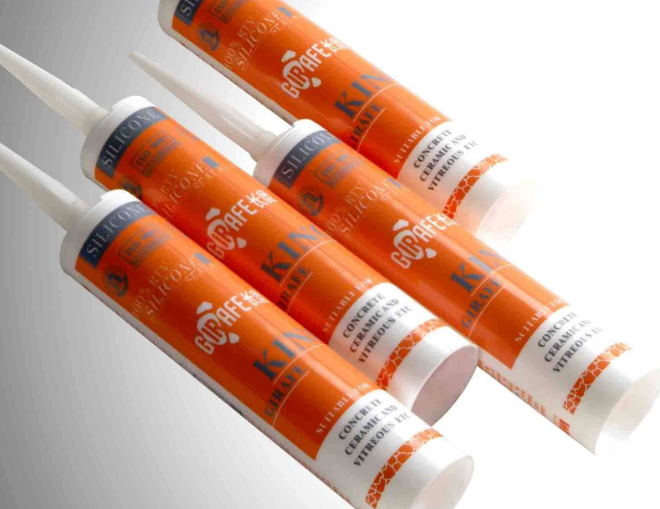
A:There is rubber on the bottom of bracket, and you can put the glass glue on the hole.
This can completely avoid water leakage problem.
Any more questions, please feel free to contact our team to know more.
